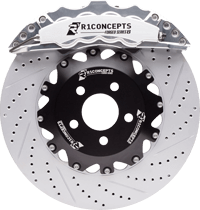
After purchasing a Big Brake Kit to increase the performance of your vehicle, your next step is to get it installed. Thankfully, this process was designed to be simple and is a lot more straightforward than most think.
Installing the Big Brake Kit: Your Guide
- Remove the existing brake line on your vehicle. Make sure that you block off the line to help prevent it from leaking out.
- Once you loosen the line, have a drip pan at the ready to help make the cleanup process easier.
- Next, remove the two caliper bolts that hold the caliper in place.
- After the two bolts have been removed, you can remove the caliper from the rotor, then the rotor itself.
- Now that everything has been removed, you’ll need to either trim or remove the dust shield (which you need to do will vary depending on your application).
Now that the standard brakes have been removed from your vehicle, you can begin the process of installing the Big Brake Kit.
- First, install your bracket using the new hardware that has been provided for you. You’ll also want to make sure that the hardware is the correct size for your steering knuckle. Once the bracket has been secured, you’ll also want to make sure that it is facing the right away and provides enough clearance for the rotor.
- Install the rotor. While doing so, it’s always a good idea to install a few washers and the factory lug nuts to make sure that the rotor is secured lightly to the hub.
- Now you can start placing your caliper onto the caliper mounting bracket using the new hardware that has been provided. Drop one bolt in and get it secure – make sure it goes in smoothly to prevent cross threading. Then you can secure the other bolt. Make sure the caliper’s position on the rotor is centered and it has solid pad contact. Shims are provided to either move the caliper left or right as needed.
- Once everything is in place, you can remove the hardware and torque everything down to spec. Don’t forget to use the loctite provided.
- Then, grab your brake line and the new banjo bolt that has been provided. Put a copper washer on each side of the banjo fitting and secure it to the end of the caliper. Make sure the brake line is tight, but not too tight.
- Take care when routing the brake line so that it doesn’t interfere with either your suspension or your tires.
- Once your brake line is mounted the proper way, remove the old factory line.
- Once the old line is out, secure the other end of the new line in place.
- Using brake cleaner, carefully wipe any areas that brake fluid may have dripped onto.
- Remove the washers and lug nuts that you used to secure the rotor.
At this point, the process is essentially complete – you just need to move onto the rear of the Big Brake Kit. It’s a similar process to the one you just went through above – remove the bolts, slide the caliper off the rotor, and remove or trim your dust shield as needed. Take care to look for any wires or anything else that may be damaged by the cutting wheel.
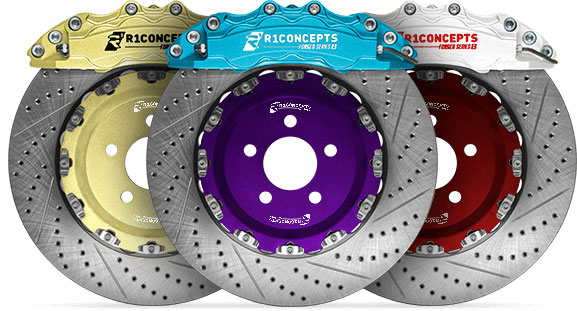
Once everything is reassembled, that’s it – your new Big Brake Kit is properly installed and you can immediately begin to enjoy all of the benefits that come with it.
If you’d like to find out more information about the best practices you should follow when installing your Big Brake Kit, or if you have any additional questions you’d like to go over with someone in more detail, please don’t delay – contact R1 Concepts today.


