


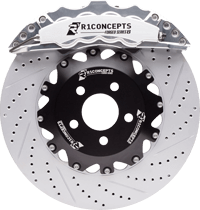

If you’re new to brake bleeding, R1 concepts has created this guide will tell you exactly how to properly prepare your vehicle for brake bleeding and familiarize yourself with different methods that will result in firm and reliable brakes. This is very helpful for people who wants to do some of their car work on their own and also a great help for new car owners that will just do their brake maintenance for the first time.
Key Takeaways
- yes, you can bleed your brakes by yourself, and it’s not as hard as you think it is.
- Brake bleeding is essential to maintain your car’s braking performance by removing air from the hydraulic system, which can otherwise cause inefficiencies or brake failure.
- There are two common methods for bleeding brakes: gravity bleeding and pressure bleeding, each with their own procedures, advantages, and challenges.
- It’s important to use the correct type of brake fluid for your vehicle, ensure the master cylinder is appropriately maintained during the process, and perform a test drive after bleeding to confirm successful brake function.
Step-by-step Procedure on How To Bleed Your Brakes
One thing that is pretty interesting is that you have other options to bleed your brakes. We have it lined up here as to how to do it properly. First things first, you need to prepare your vehicle and get all the necessary materials to do the procedures.
Preparing Your Vehicle for Brake Bleeding
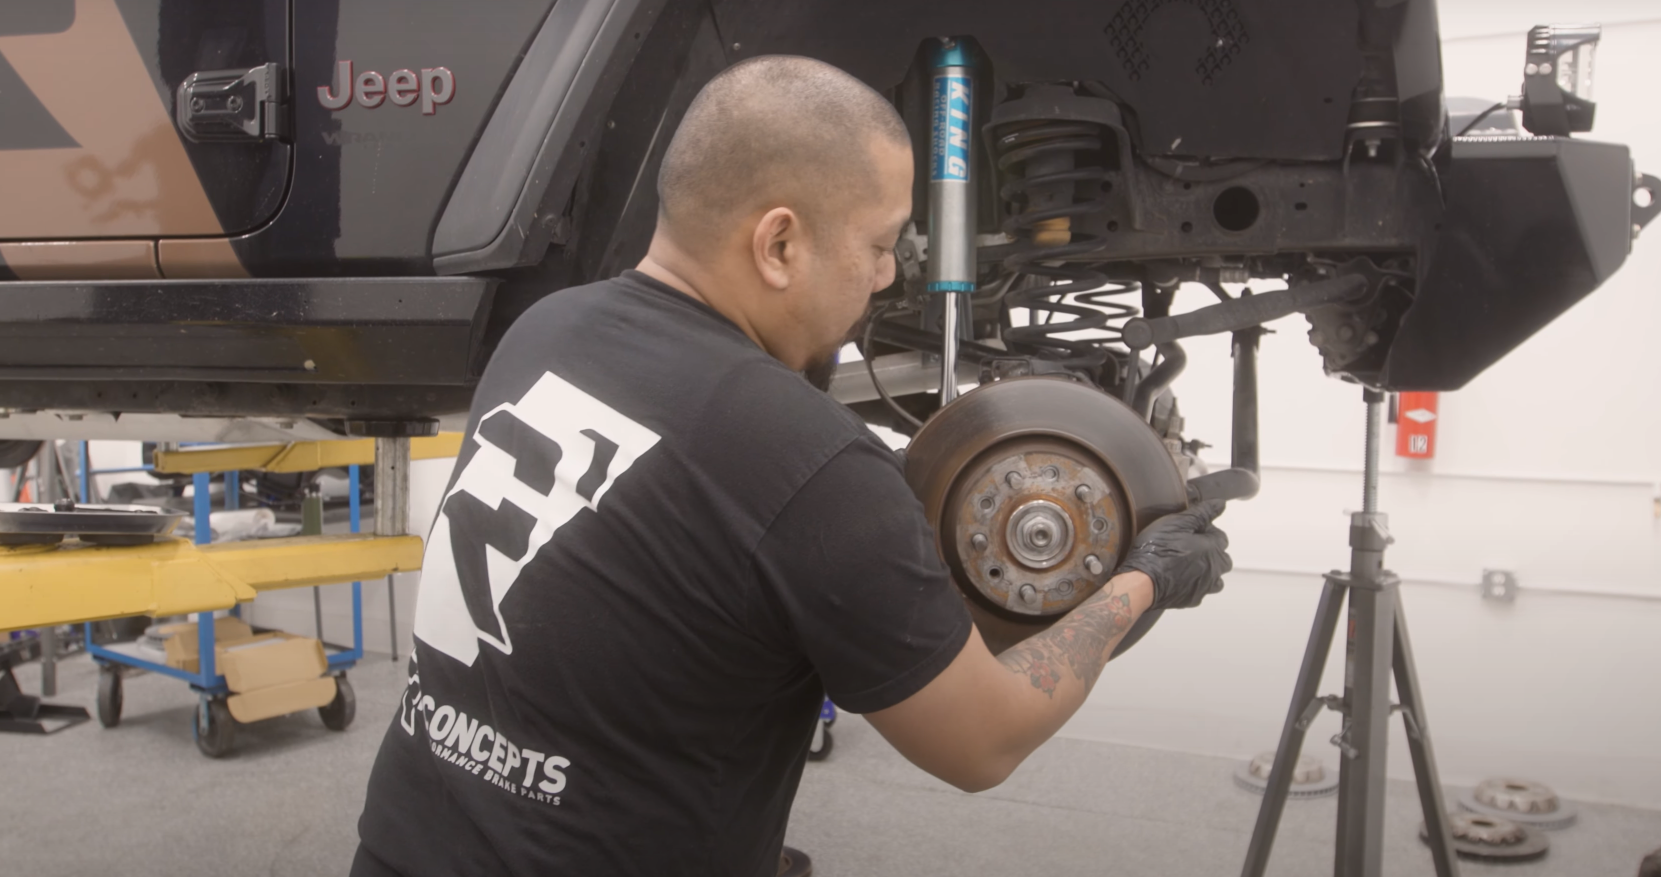
Before beginning the brake bleeding process, it is essential to prepare your vehicle correctly for maximum safety and efficiency. Gather all needed supplies including and park on level ground, shut off engine then support with jack stands. Wear protective gloves and glasses in case any splashes occur from liquid spills!
Materials needed
- Bleeding bottle – this can be any used soda bottle with a cap, nothing fancy.
- Fuel line (size 3/16) – this is going to connect your soda bottle and brake bleeder bolt to do the brake bleeds. The size is just a bit smaller than the bleeder bolt so it can
- Zip wires – to hold the fuel line in place in the bleeding bottle.
- Driller – this is just to drill the hole in your bleeding bottle cap.
- Brake Fluid – The purpose is obvious and you need this to bleed your brakes.
- Flare Wrench – this is to loosen the bleeder screw.
- Jack Stands – This is to raise your vehicle slightly above ground, you need at least two.
Build Your Bleeder Bottle
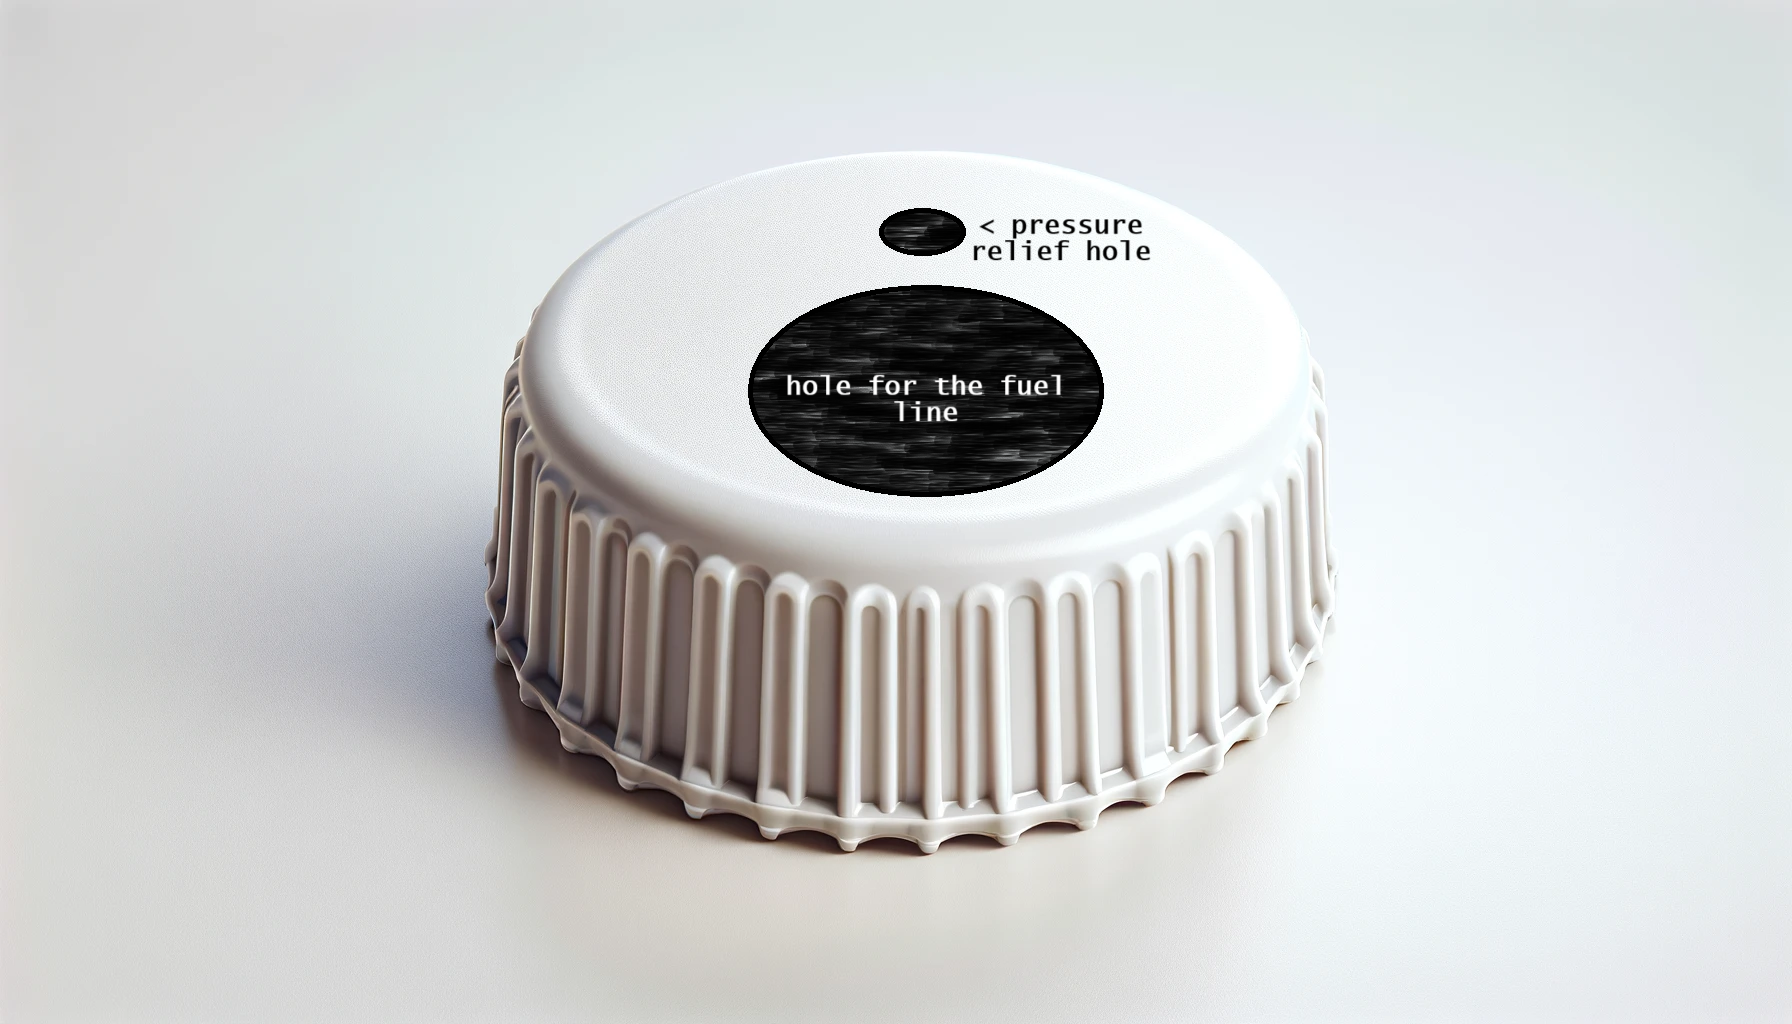
- Wash your bleeding bottle. Make sure that there are no residues or debris inside and dry it thoroughly.
- After cleaning your bleeding bottle, go get your driller and make a hole in the cap enough to fit the 3/16 inch fuel line.
- After creating the hole for the fuel line, create a little hole; as small as needle poke just close to it. Make sure this isn’t going to annex the hole in for the fuel line. This will serve as a hole for pressure release so that your bleeding bottle wouldn’t explode.
- Attach the fuel line to the hole and put a wire tie to under the cap to secure the line in place.
- Add brake fluid to fill one-third of the bottle.
- Put the hose in the bottle and screw the cap on tightly.
Assuming you’ve already drained the old brake fluid from the master cylinder, replaced it with fresh fluid, and prepared your bleeding bottle, we can now go into the specific procedures for each type of brake bleeding.
Gravity Bleeding Procedure
- Make sure the engine is off and your vehicle is on solid ground. Elevate the area where you want to do your bleeding.
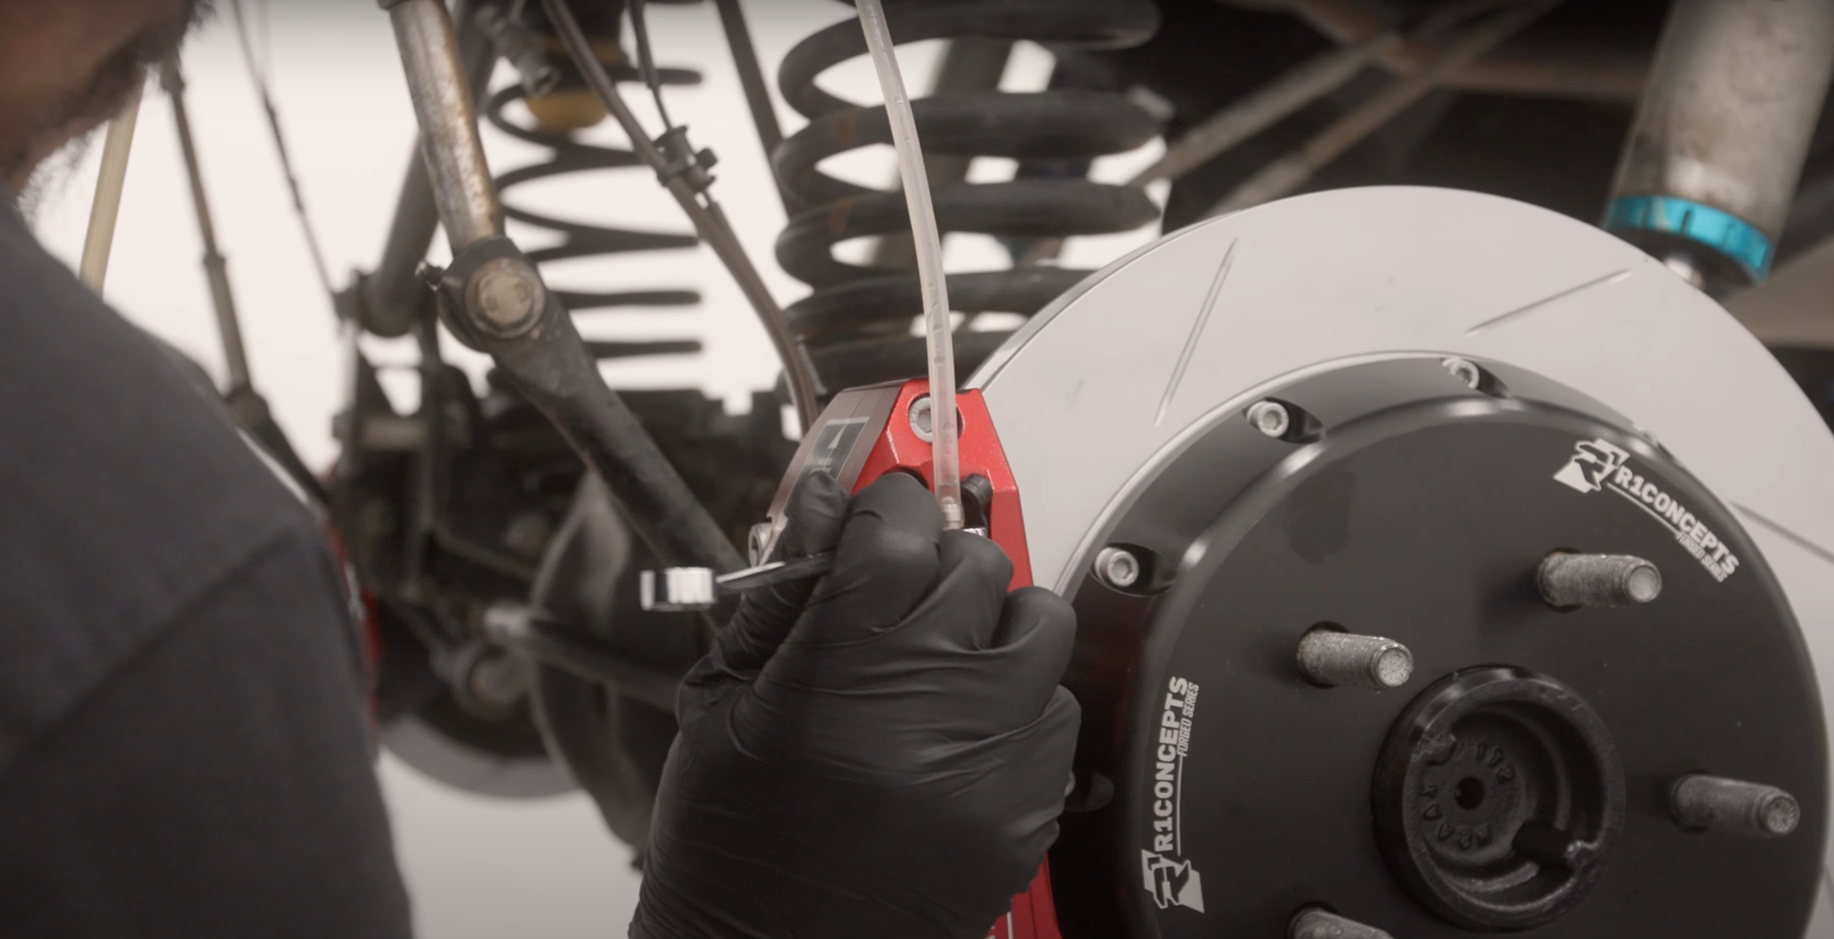
- Using the flare wrench, carefully open the brake bleeder screw by a quarter turn. Avoid opening the screw too much to prevent the brake lines from drawing in air instead of expelling it from the brake system.
- Attach the other end of the fuel line with the bleeding bottle to the bleeder valve.
- Let gravity do it’s job and wait for the air to go out completely. It will take about one hour to complete this so you also need patience.
- put everything back (close the bleeder valve and assemble your wheels) and do a brake test.
Pressure Bleeding Procedure
- Ensure the engine is switched off and your vehicle is stationed on a flat surface. Raise the area where you plan to conduct the bleeding process.
- Begin by cleaning the bleeder screw and clearing all dirt or debris.
- With your flare wrench in hand, gently turn the brake bleeder screw a quarter turn.
- Apply pressure to the brake pedal so that it presses the master cylinder reservoir correctly. Allow the air to go out of the fuel line and then let it suck all the brake fluid back.
- Constantly check for drops in the brake fluid level within your master cylinder. If you see a great amount of drop, just top it up again with fresh brake fluid.
- Put back all things together and do a brake test.
Why Do You Need To Bleed Your Car Brakes?
you need to bleed your brakes so that you can push out air bubbles out of your car’s braking system. It is necessary to remove air bubbles because air bubbles can make your braking system suffer, causing serious brake issues like spongy brakes.
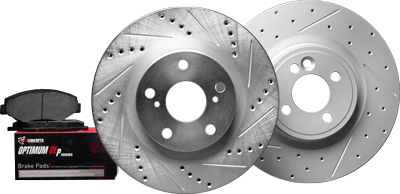
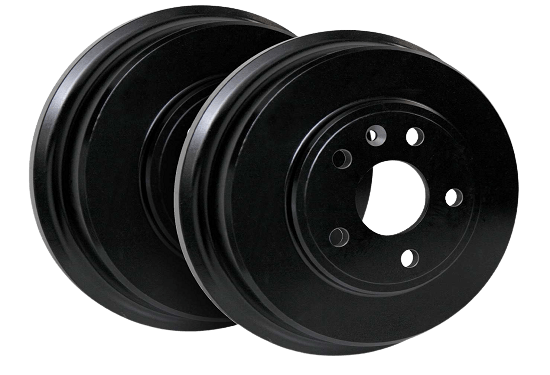
Your car brakes are more than just a means of making your vehicle stop. They work as an hydraulic system, which utilizes brake fluid to transmit the pressure from the pedal to activate either brake pads that press against rotors or shoes in drum brakes – achieving friction and slowing down your vehicle safely.
Can I Bleed Brakes By Myself?
yes, you can bleed your brakes by yourself and it’s much easier than one might think. With the right tools and patience, anyone can do it without having a professional help them out.
In fact, us at R1 concepts encourage you to learn how to bleed your brakes by yourself because it will save you money compared to going to a mechanic.
All you need are these things to bleed your brakes: a bleeding bottle, a fuel line, and a wire tie and a drill. The procedure to bleed brakes by yourself has been tackled above.
Types Of Brake Bleeding Methods
When considering brake bleeding, we consider two primary options: gravity and pressure bleeding. Each method offers its own advantages. The choice of which to use largely depends on what type of brakes your vehicle possesses plus individual preference.
Gravity Bleeding
Gravity bleeding is a convenient and cost-efficient way to bleed brakes. This method relies on gravity, making it possible for brake fluid to travel from the master cylinder through the lines until it leaves by way of the bleeder bolt.
It’s worth noting that although easy, this approach can be quite slow, taking up as much as one hour, but still remains viable solution in situations where time isn’t so pressing or when manual intervention might not prove necessary guaranteeing proper functioning of your system, something which may not always happen after using only gravity bleeding technique.
Pressure Bleeding
For fast and efficient brake bleeding, pressure bleeder is the right choice. This technique requires a single person to operate by forcing brake fluid through the system with the help of a pressurized device that keeps track of the necessary level in its reservoir.
It can be completed quickly compared to other methods making it quite popular amongst users despite not being suitable for systems where residual pressure still remains inside them. Thus, if speed and accuracy are important factors while considering alternatives, then this method should be given strong consideration as an option due to these advantages during braking processes.
Best Brake Fluid For Bleeding Your Brakes?

When it comes to finding the best brake fluid for bleeding your brakes, there are several options available. Here’s an overview of some common types and their features.
DOT 3
DOT 3 is a widely used option. This glycol-based fresh liquid has a boiling point of 205 degrees Celsius and works with most braking systems. It’s most suitable for everyday vehicles used for regular commuting or city driving, where extreme braking conditions are less likely.
DOT 4
For vehicles fitted with ABS or ESPs, DOT 4 might be more suitable since its boiling temperature surpasses that – reaching 230°C, plus it offers better protection against moisture absorption compared to other varieties on offer. It’s a good choice for high-performance cars, sports cars, or vehicles that are often driven in a spirited manner, as these vehicles often require more aggressive braking.
DOT 5
Alternatively, those driving classic cars could opt for DOT 5 which boasts 260 ° C as its highest boil point but cannot handle ABS technology due to being silicone based instead of glycol like others in the range (3 &4). It’s perfect for vintage cars and other vehicles that don’t use ABS technology.
Dot 5.1
Dot 5.1 was designed specifically with high performance cars in mind, again offering superior heat resistance whilst still possessing all desirable qualities found within any regular brake fluid. This is ideal for high-performance vehicles, race cars, and other vehicles that see aggressive driving and need to withstand high heat from braking. As always, it pays off to double check owners’ manual concerning recommended specific type according to your vehicle model before finally picking out right choice at store!
What Are The Common Brake Bleeding Issues I May Face?
The task of brake bleeding, while seemingly straightforward, can present a set of challenges. Here are some common issues you may encounter:
- Air Bubbles in the Brake Fluid: Air bubbles can reduce the effectiveness of your brakes and result in a mushy feeling on the pedal or difficulty when sensing an engagement point. This usually happens if insufficient care is taken to maintain the fluid level inside the master cylinder during the bleeding process. If the master cylinder runs dry, it can draw air back into the system, weakening the pressure within the brake lines.
- Contamination & Spillage: Contaminants in the brake fluid can lead to inefficiencies in the braking system. Similarly, spillage during the bleeding process can cause mess and potential damage to other parts of the vehicle. It’s crucial to handle brake fluid carefully to avoid these issues.
- Bleeder Valve Damage: Improper handling or use of incorrect tools can damage the bleeder valve, leading to inconsistent results from the bleeding process. Always use the correct tools and follow the manufacturer’s instructions to avoid this issue.
- Uneven Bleeding Process: An uneven bleeding process can result in inconsistent brake performance. This usually happens when the bleeding process is rushed or not done thoroughly. To prevent this, ensure you follow the recommended procedure and take your time to bleed each brake line properly.
Remember that understanding these potential issues and their causes can help you carry out a more effective and efficient brake bleeding process.
Troubleshooting Common Brake Bleeding Issues
If you’re having brake bleeding problems, don’t worry. Usually these can be solved with some troubleshooting. If air bubbles are still in the system after trying to bleed it, this could mean there was an incomplete procedure or a leak somewhere else in the braking system. Check all connections for tightness and that no parts of the brake lines/hoses have been damaged before attempting again, ensuring to use the correct sequence and method recommended by your vehicle manufacturer.
Also, if pedal feels spongy post-bleeding or fluid has erupted from master cylinder reservoir then most likely more air is trapped within brake systems. Double check fullness of the Master Cylinder accordingly so as to enable successful attempt at re-bleeding process!
Final Checks and Test Drive
After the brake bleeding is finished, it’s essential to perform final checks and a trial run of your car to guarantee that the brakes are performing correctly. Start by checking over both the master cylinder and brake pedal for any air bubbles left in the system. Afterward, make sure that all fluid levels inside the master cylinder match their designated levels. Ensure that its cap has been securely tightened.
Finally time for a test drive! Drive slowly first while simultaneously applying pressure on brakes at varying speeds to verify they’re working properly and handling appropriately – pay attention along with looking out/listening out towards abnormal noises as well which may signal an issue with regards brakes or possibly something else wrong too. Once everything seems suitable and there are no problems whatsoever during operation then this indicates successful completion when assessing via braking process achieved beforehand.
Summary
Brake bleeding is a key maintenance step that should not be ignored. It ensures efficient braking performance and prevents brake failure, keeping you safe. To achieve successful results with this process, patience along with proper preparation are essential – consider the methods available, what tools/materials need to be used and how to solve common problems if needed. Performing regular bleeds of your braking system will help ensure its reliable functioning for years ahead.
Frequently Asked Questions
What is the correct way to bleed brakes?
To bleed brakes effectively, one should begin by starting with the rear wheel on the passenger side. Then move to back of driver-side followed by front of the right side and ultimately finish up at left inlet for wheels upfront. Keep going until no more cloudy/unclear fluid is found from all four areas combined, a process known as brake bleeding. If your car has multiple bleeder screws installed within its calipers, it’s important that each be bled individually before concluding work.
Do you pump brakes when bleeding brakes?
When bleeding brakes, don’t pump the brake pedal. Instead, press it firmly until you feel resistance and then start to bleed each caliper individually if applicable, this will help get rid of any air bubbles present in the system. Always make sure that your car engine is off when performing this process!
What are the signs of air in the brake system?
If you feel the brake pedal is spongy or that it’s difficult to discern when your brakes are engaging, this might be caused by air in your braking system. It’s important to first check the fluid level before bleeding them so as not to add more air into the lines.
What are the necessary tools for brake bleeding?
For the process of bleeding your brakes, you’ll need a combination wrench or a specific brake bleeder wrench. To some clear plastic tubing (1/4-inch diameter) which will be used for channelling the brake fluid into another container. Make certain that you use an appropriate tool so as not to damage the crucial bleeder screw while performing this task.
What could be the reason for having a low pedal after bleeding the brakes?
After bleeding the brakes, if there is still an issue with a low pedal feel, it likely means that air has been left in the brake system. To prevent more air from entering and resolve this issue try pumping the brake pedal slowly yet steadily while performing another bleed of your brake system.